Monday, September 27, 2010

ArtFire

I have recently discovered a new online venue for selling my work.


It's has a few more benifits, for me as a seller, than Etsy does.

1. The customer support is FANTASTIC!
(I had a staff memeber helping me in the forum at 5pm on a Sunday!)
2. My shop appearance is more customizable (with #5 in place)
3. They have a basic account that is FREE and can have unlimited listings
4. I don't pay $.20 per listing (or relisting--It was getting expensive!).
5. If I want more features (which I do), it's a flat fee of $5.95/mo
(until 9/30/10--then the price goes up, so hurry if you want in on it too!)

The cons are that Etsy is more well known and still gets more traffic, but it's more saturate with sellers and products, so I was more of a small fish in a very full pond. I think ArtFire is really making a name for itself, so I've decided to give it a try.

I don't have all my items up yet, but I do have most of my painting so stop by and check it out. I will be speding more time customizing the look of my shop this weekend. I just got it two days ago, so don't judge it too harshly!

Plus, I plan on opening a shop just for my jewelry this weekend too. Hopefully that will make it easier for you to find exactly what you want.

Lots of great things in the works I'm excited about. I hope you like it all too!
Thursday, September 23, 2010

My (re)Organized Studio

I admit it. I love to clean. 
No, it's really that I love to organize. 
I could live without the dusting, washing, etc.

This weekend I managed to carve out some time to reorganize my studio. 
I didn't feel like I had enough surface space to do all the following and be able to not have to clean up:
1) acrylic palette, brushes, and paint for canvas on an easel
2) an area to watercolor and leave it out to dry
3) work on my new altered book and do some collaging (did I just make that word up?!) without having to use an easel
4) have my jewelry making items out to use at a moments notice

Here's what I came up with...


On the middle shelf, I have acrylic set up on the left and watercolor set up on the right. They are at perfect elbow height for me. Bottom shelf is my suitcase of paint, with paint accessories in the middle and stamping supplies on the right. I learned that I'm really lazy and wouldn't get out the stamps if they were in a box...in a box. On the floor is some random stuff. Not every day items, but easily accessible none the less. Oh and the boxes on the the top shelf are filled with card making supplies. 

These are two sets of bins that I decided to fill with mostly random stuff, but the best part is all my collaging (Ok, it's an official word now) drawer. The largest top drawer. On top of that is where I work on my altered book. That framed painting is something I made when I was about 5 years old. Yep. I still love it!

So you see, it's all pretty cramped and all on one wall, but I'm making it work! I just move the easel left or right depending on my project for the day. The jewelry table is just to the right of the watercolor spot. You can see the messy version of it here.

I hope you have enjoyed my little tour.

What does your work space look like?

Sunday, September 19, 2010

Altered Book

I have been inspired by Laurel to make an altered book. Oh how I love her books!

I think it's also because I'm asking my students to make one. 
That'd be pretty rude of me to make them do one, when I dont have one of my own!

I got this book, Creative Paint Worshop, recently and LOVE it! 
 I took her advice with step by step instructions on basic layering as my first altered book pages. 
Here's my first finished "spread".  

(the book is 5x7" closed)

I used about 7 or 8 different layers when all said and done. 
There are two different collage layers, a doodle/text layer, and multiple thin acrylic wash layers. I finished it off with a china marker to add more contrast and stripes. 
Gosh, now I wish I had taken pictures after each layer! I'll try to remember to do that next time.

Thursday, September 16, 2010

Printmaking

I took a printmaking class in college and produced some very pretty things. 
I decided to put some of my prints up for sale and sold one yesterday! 


 11x15 monoprint with yarn

One of the best things about monoprints is that you can make, what I like to call, a ghost copy with the left over ink on the plate. So I made two prints for the work of one!


11x15 monoprint with yarn

Monday, September 13, 2010

Michael Recycle

I had the opportunity to babysit for my nieces this weekend and here is a little something we made during dinner. Allow me to introduce him to you. 

His name is Michael Recycle, but not the same guy as in the book
This is Maddie's version illustrated by yours truly.


Let me start from the beginning. 
I drew what she asked for and later she colored him in.

That's spaghetti hair (sauce and all) with a bottle cap head.
Stick on googly eyes, part of a triangle nose, cheerio mouth with milk mustache and peanut ears. 
His body is made of paper and his legs are string cheese (later I learned its the striped yellow ones, not just the plain white ones). 
And of course the hands and feet are acorns. 
 She didn't finish by bedtime so I didn't get an "after" shot. I'm sad too because she did a great job staying in the lines! 

I'll see if I can get the updated photo for you.

What would your recycle man look like?

Saturday, September 11, 2010

Autumn Painting

Here's one inspired by the favorite piece a few posts back.
Same color palette just a bit bigger (16x20")

Acrylic on canvas

Both for sale in my store!

Thursday, September 9, 2010

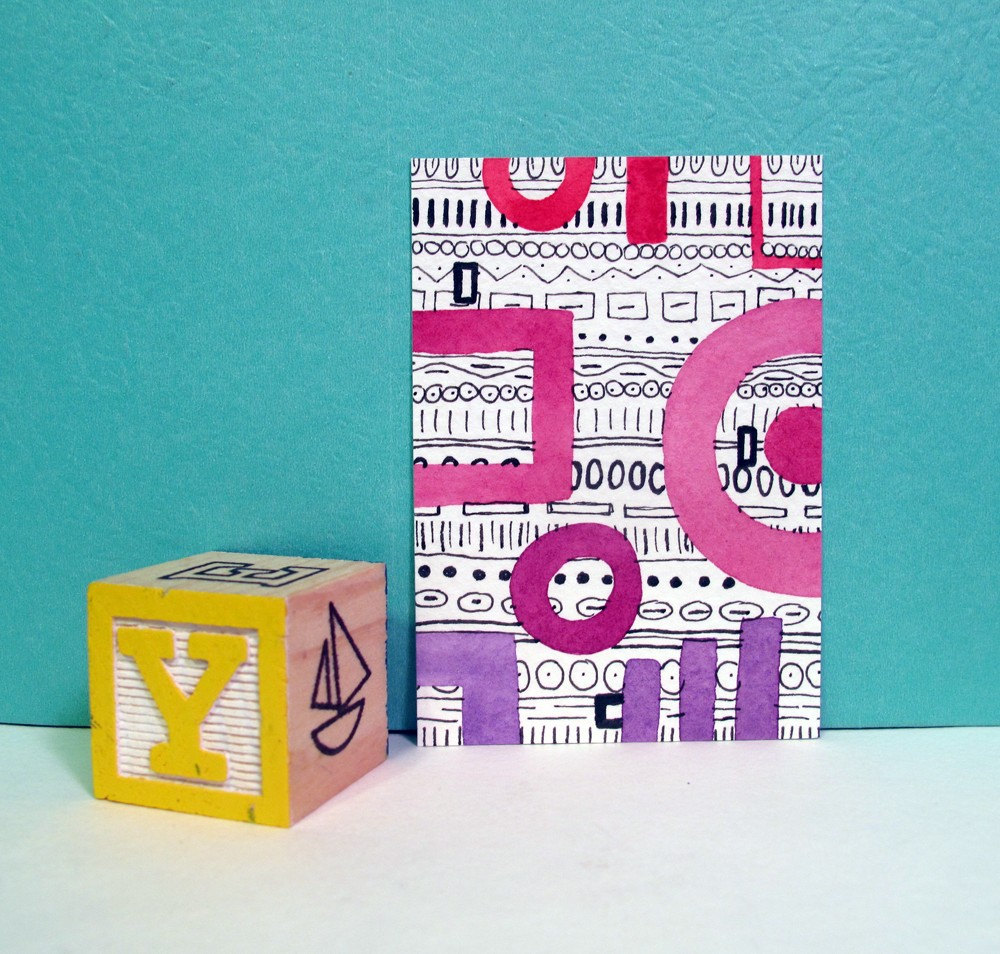
ACEO Happy

I recently made some more ACEO's (Art Cards Editions & Originals).
It's a great way to collect art without spending a lot of money since they are the size of baseball cards (2.5x3.5").

Here's my latest design with watercolor and ink.

There are two more that I made as a set to be purchased together or individually on my Etsy shop.

Stop by and have a look if you have time.

Friday, September 3, 2010

Continuous Line

I'm working with my students right now teaching them different line qualities and variations. 

We've talked about contour, implied, expressive, gesture, and continuous line.

Here's my version of what their finished product with continuous contour line should look like. 

 (This is part of my classroom)
12x18" Sharpie on Paper